
When you're ready to pour concrete in Marietta, GA, it helps to start with a clear plan. You'll want to gather the right tools and choose an appropriate concrete mix for your project. After prepping the site by clearing debris and leveling the ground, you'll be set to build forms and pour the mix. But there's more to it than just pouring; the finishing touches and curing process are essential for durability. Understanding these steps can make all the difference, especially when it comes to achieving a professional-looking result. What should you focus on next?
Gather Necessary Tools
Before you plunge into pouring concrete in Marietta, GA, you need to gather the right tools. Your tool selection can make or break your project, so it's important to have all the necessary equipment on hand.
First, you'll want a sturdy wheelbarrow to transport the concrete mix. It's crucial for moving heavy loads efficiently. Next, grab a shovel for mixing and spreading the concrete evenly.
You'll also need a concrete mixer if you're working with larger quantities. This equipment guarantees a uniform mix, which is essential for durability. Don't forget your trowels and floats; these are key for smoothing and finishing the surface. A level is important too, as it'll help you achieve the proper grade for drainage.
Safety gear is just as significant, so make sure you have gloves, goggles, and a dust mask. Finally, consider having a bucket for measuring water and a broom for clean-up.
With all this important equipment ready, you're well-prepared to tackle your concrete pouring project confidently. So, take the time to gather your tools, and you'll set yourself up for success!
Choose the Right Concrete Mix
Choosing the right concrete mix is essential for your project's success.
You'll need to take into account the specific requirements of your task and the local environmental factors that could affect the concrete's performance.
Different types of mixes are available, so understanding your options will help you make the best decision.
Types of Concrete Mixes
Selecting the right concrete mix is vital for guaranteeing the strength and durability of your project. Different types of concrete mixes serve specific purposes, so knowing your options is important.
For general use, standard concrete mix is a great choice, typically composed of cement, sand, gravel, and water. If you're looking for enhanced strength, high-strength concrete mixes contain lower water-to-cement ratios and may include concrete additives to improve performance.
On the other hand, if you need a mix that's easy to shape, consider using a flowable mix, which has a higher water content for better workability.
For projects exposed to harsh environments, like freeze-thaw cycles, you'll want a mix that includes air-entraining agents as concrete additives. This helps improve resistance against cracking.
Additionally, if you're pouring slabs or sidewalks, a mix designed specifically for those applications will typically have the right mix ratios to guarantee durability and longevity.
Ultimately, understanding the different types of concrete mixes and their specific properties will help you make the best choice for your project while maximizing its performance.
Consider Project Requirements
Understanding your project's requirements is essential when it comes to choosing the right concrete mix. First, evaluate the project scope. Are you pouring a driveway, patio, or a foundation? Each application has different strength and durability needs.
For instance, a driveway might require a mix with higher compressive strength to withstand vehicle loads, while a decorative patio could prioritize aesthetic appeal.
Next, consider your budget considerations. Concrete mixes can vary considerably in cost, depending on the materials and additives used. If you have a limited budget, you might opt for a standard mix, but remember that investing in higher-quality materials can save you money in the long run by reducing maintenance and repairs.
Additionally, think about the weather conditions in Marietta, GA. Some mixes are formulated for better performance in hot or cold climates.
Local Environmental Factors
When pouring concrete in Marietta, GA, local environmental factors play a significant role in determining the right mix. You need to take into account climate considerations, as the area experiences hot summers and mild winters. This temperature fluctuation can affect the curing and strength of your concrete.
For instance, using a mix designed for warmer climates can help prevent premature setting and cracking during the hot months.
Additionally, you'll want to evaluate the soil composition in your project area. Marietta's soil can vary from clay to sandy types, which influence drainage and stability. If your soil has a high clay content, it might expand and contract with moisture changes, so a more flexible mix could be beneficial.
Incorporating additives like retarders can also help manage the setting time, especially in the summer heat.
Prepare the Site
Before you start pouring concrete, you'll need to prepare the site properly.
Clear the area of any debris, level the ground to guarantee a stable surface, and mark the boundaries to define your workspace.
Taking these steps will set you up for a successful pour.
Clear the Area
To kick off the concrete pouring process in Marietta, GA, you'll need to clear the area thoroughly. Start by removing any debris, such as rocks, leaves, or old concrete. This step is essential for proper site preparation, making sure that nothing interferes with the new concrete.
You'll want to check for any underground utilities or cables as well; if you're unsure, consider calling a utility company to mark them for you.
Next, assess the space for any obstacles. This includes furniture, tools, or equipment that might be in the way. Take the time to relocate these items to a safe area.
Additionally, make certain you have adequate access for your concrete mixer or delivery truck. Clear pathways can greatly speed up the process and enhance area safety, reducing the risk of accidents.
Finally, if you're working in a residential area, it's a good idea to inform neighbors about your project. This helps maintain good relations and makes sure everyone is aware of any noise or activity.
Level the Ground
With a clear area in place, leveling the ground becomes the next vital step in preparing your site for concrete pouring.
Start by evaluating the existing soil. You want to guarantee soil stability, which means checking for compactness and removing any loose or soft spots. Use a shovel or a rake to achieve a smooth surface.
Once you've removed any debris or vegetation, it's time to focus on the grading. Aim for a slight slope away from any structures to promote proper drainage. This slope is essential; poor drainage can lead to water pooling, which may compromise your concrete over time.
Check your progress with a level tool or a long straight board. Lay it across the area and look for gaps underneath. If needed, add or remove soil until you achieve a flat, even surface.
After leveling, take a moment to walk the area. Make sure you can confidently stand on the ground without any shifting.
Mark the Boundaries
Marking the boundaries of your concrete project is essential for ensuring accuracy and organization. Start by determining the size and shape of the area you want to pour. Use measuring tape to get precise dimensions, then plan where your boundary markers will go. These markers will help you visualize the layout and keep everything in line.
Once you've mapped out the area, gather your marking tools. You can use stakes, spray paint, or chalk lines to outline the boundaries. Drive stakes into the ground at each corner, ensuring they're firmly in place. If you opt for spray paint, make sure to spray a line connecting the stakes, clearly indicating the project's perimeter.
Don't forget to double-check your measurements before moving on. It's easy to make a mistake, and correcting it later can be a hassle.
Once you're satisfied with your marked boundaries, you'll have a solid foundation to proceed with your concrete pouring. Taking the time to mark the area accurately will save you time and effort in the long run, so don't rush this vital step!
Build Forms for Concrete
Building forms for concrete is an essential step that sets the foundation for your project. To get started, choose the right form materials based on your specific needs. Common options include plywood, steel, or plastic. Each material has its pros and cons, so consider factors like durability, cost, and how smooth you want the finish to be.
Next, focus on form design. Your design should reflect the dimensions and shape of the concrete you plan to pour. Use stakes to outline the area, ensuring everything is level and square.
As you construct the forms, make sure they're sturdy enough to withstand the weight of the concrete without collapsing. Use screws or nails to secure the form materials together tightly.
Don't forget to apply a release agent to the inside of your forms. This makes it easier to remove the forms later and helps prevent the concrete from sticking.
Finally, double-check your measurements and adjust as needed before moving on. With your forms built correctly, you're one step closer to a successful concrete pour in Marietta, GA.
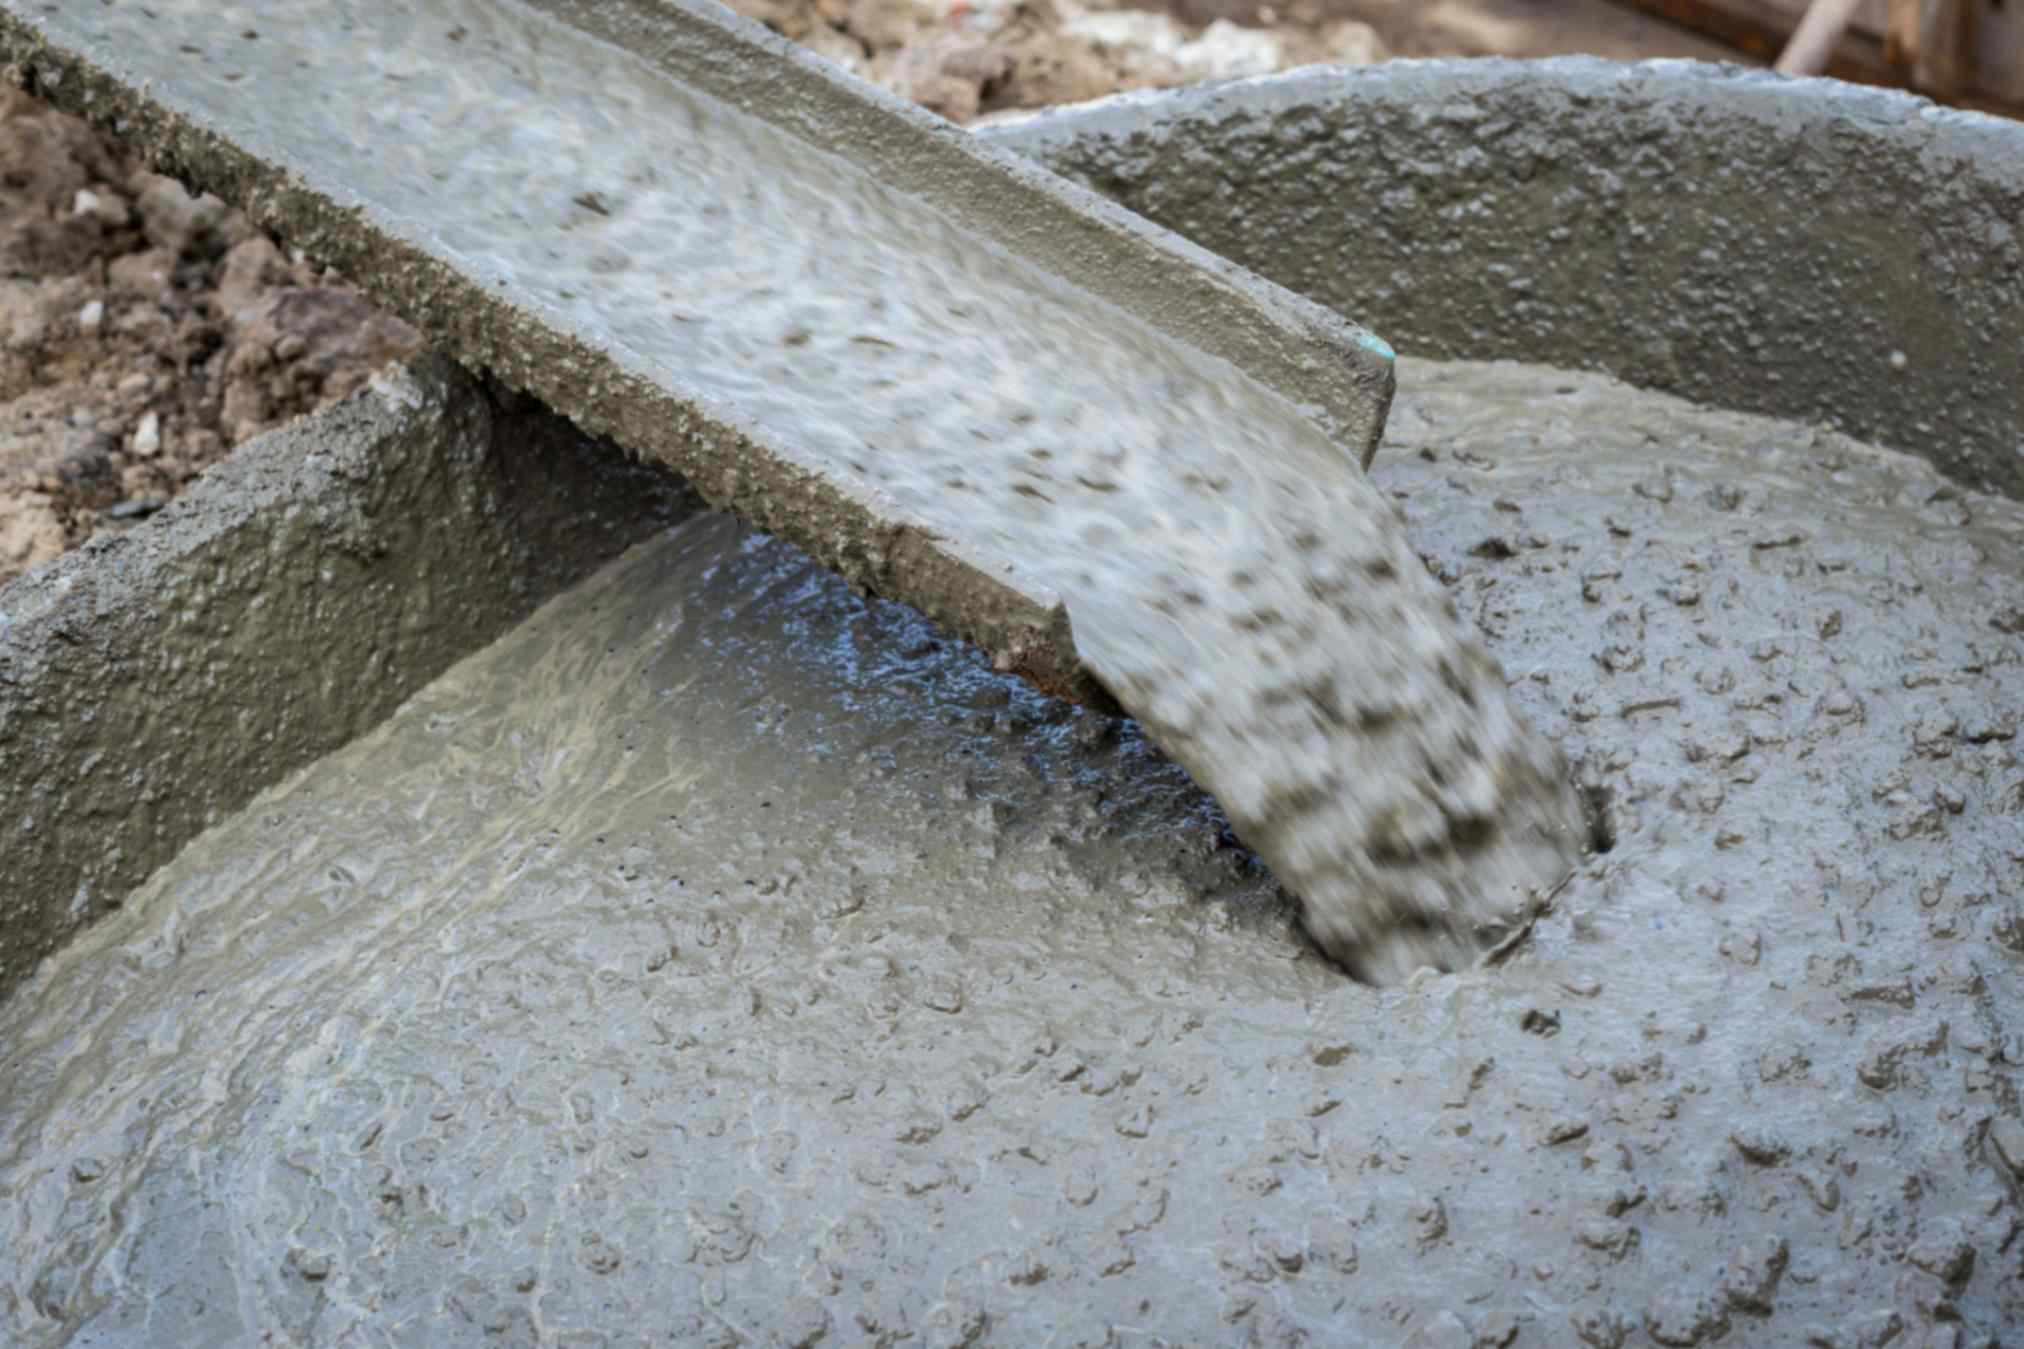
Pour the Concrete
Once your forms are securely in place, it's time to pour the concrete.
Begin by choosing the right mix techniques to guarantee your concrete has the proper consistency. If you're mixing it yourself, aim for a thick, workable mix that won't run out of the forms. Consider using pre-mixed concrete for simplicity.
When you're ready, select your pour methods. You can either pour the concrete directly from the truck or use a wheelbarrow if you're working on a smaller project. If you're pouring from a truck, make sure to have a plan for directing the flow to avoid any mishaps.
As you pour, keep an eye on the consistency; it should fill the forms evenly without excessive air pockets. If necessary, use a shovel or rake to spread the concrete around and guarantee even distribution.
Remember to work quickly, as concrete can start to set in as little as 30 minutes.
Once you've completed the pour, you're on your way to a solid foundation. Just remember to keep the area clear and safe for the next steps in your project.
Level the Surface
After pouring the concrete, leveling the surface is essential to confirm a smooth, even finish. Start by inspecting the area for any high or low spots. You'll want to make slope adjustments to confirm proper drainage, especially if water pooling is a concern. Use a long, straight board or a screed to help you achieve this.
Begin at the highest point and work your way down, dragging the screed across the surface. This action will help you distribute the concrete evenly, filling in any low areas. If you notice any excess concrete, simply push it back to the low spots or towards the edges.
During this process, pay attention to your surface preparation. The better the preparation, the easier it'll be to level the surface. If you've added any reinforcements or forms, confirm they're still in place and won't shift during leveling.
Once you've achieved the desired level, take a moment to clean up any debris or tools. This will help your concrete cure properly and set the stage for any finishing techniques you'll apply later.
A well-leveled surface is key to a successful project.
Finishing Techniques
Finishing techniques are essential for enhancing the appearance and durability of your concrete surface. Once you've leveled the concrete, it's time to focus on the finishing phase.
You'll want to use various finishing tools to achieve a smooth, polished look. Start with a bull float to level any ridges and fill in low spots. This tool helps to push the aggregate down and expose the cream on top.
After that, you can switch to trowel techniques. A hand trowel is perfect for edges and corners, while a power trowel can cover larger areas quickly. As you trowel, make sure you're applying consistent pressure, which helps create a dense, smooth finish.
If you prefer a textured surface, consider using a broom finish after troweling. Simply drag a broom across the surface to create a non-slip texture, ideal for outdoor areas.
Curing the Concrete
Curing the concrete is an essential step that greatly impacts its strength and durability. Once you've poured and finished your concrete, you need to maintain proper moisture retention to guarantee it cures effectively. Without adequate moisture, your concrete can crack or weaken, leading to costly repairs down the line.
To start, keep the surface moist by covering it with wet burlap, plastic sheeting, or a curing compound that retains moisture. This helps prevent rapid evaporation, especially in hot weather.
It's vital to monitor the temperature during the curing process. Ideally, you want to keep the concrete at a consistent temperature of around 50°F to 90°F. If it's too hot, the concrete may cure too quickly, and if it's too cold, it mightn't cure properly at all.
For the best results, continue curing your concrete for at least seven days. This timeframe allows the concrete to gain strength and reduces the risk of surface cracking.
Maintenance Tips
To keep your concrete looking great and performing well over time, regular maintenance is key. Start by applying a concrete sealing product every few years. This protective layer helps prevent moisture penetration and reduces the risk of stains.
Make certain to clean the surface thoroughly before sealing to guarantee proper adhesion.
Next, keep an eye out for any cracks that may develop. It's essential to address them promptly, as even small cracks can worsen over time. Use a suitable crack repair product to fill in these gaps.
Clean the area around the crack, apply the repair material, and smooth it out for a seamless finish.
Additionally, always sweep away debris and rinse the surface regularly to avoid buildup that can lead to discoloration or damage. If you notice any signs of wear or fading in the sealant, don't hesitate to reapply it.
Finally, avoid using harsh chemicals or heavy equipment on your concrete surface to prolong its life.
With these maintenance tips, you can guarantee your concrete remains durable and visually appealing for years to come.
Frequently Asked Questions
What Is the Best Time of Year to Pour Concrete in Marietta?
The best time to pour concrete in Marietta's spring or fall. You'll want to take into account weather conditions and seasonal factors, avoiding extreme heat or cold, which can affect curing and overall strength.
How Long Does Concrete Take to Set Before Using?
Concrete typically takes about 24 to 48 hours for initial setting before you can use it lightly. However, for proper curing time, wait at least 7 days to guarantee maximum strength and durability.
Can I Pour Concrete on a Rainy Day?
You shouldn't pour concrete on a rainy day. Rainy conditions can disrupt concrete mixing, leading to poor results. It's best to wait for dry weather to guarantee a strong, durable finish.
What Safety Gear Should I Wear While Pouring Concrete?
When pouring concrete, you should wear safety equipment like gloves, goggles, and a dust mask. Don't forget protective clothing, such as long sleeves and sturdy boots, to shield yourself from splashes and heavy materials.
How Do I Know if My Concrete Is Properly Cured?
To know if your concrete's properly cured, check moisture levels. Ideally, the surface should feel damp but not pooling with water. Cure time typically spans at least seven days for peak strength and durability.
Conclusion
Pouring concrete in Marietta, GA, doesn't have to be intimidating. By following these easy steps, you can achieve a strong and durable surface for your project. Remember to gather your tools, choose the right mix, and properly prepare the site. After pouring and leveling the concrete, take the time to apply finishing techniques and let it cure. With a bit of maintenance, your concrete will last for years to come. Enjoy your successful project!